Personalized water bottles are great for any event, and relatively inexpensive to make. I used photoshop to create my label, however MS Word or Pages would work fine too. I measured the original label to get it's dimensions then created my own design, staying within the necessary dimensions. Then off to Kinko's (I guess they're FedEx now) to copy my labels on some colored paper and use their handy dandy paper cutter. **I'm planning on having my h2o bottles served @ room temperature, so regular paper will work fine. But, if your bottles will be served cold- you'll need a water resistant paper, or to laminate regular paper. Avery makes waterproof labels (#15516) in which case you wouldn't need any tape.
Step 1:
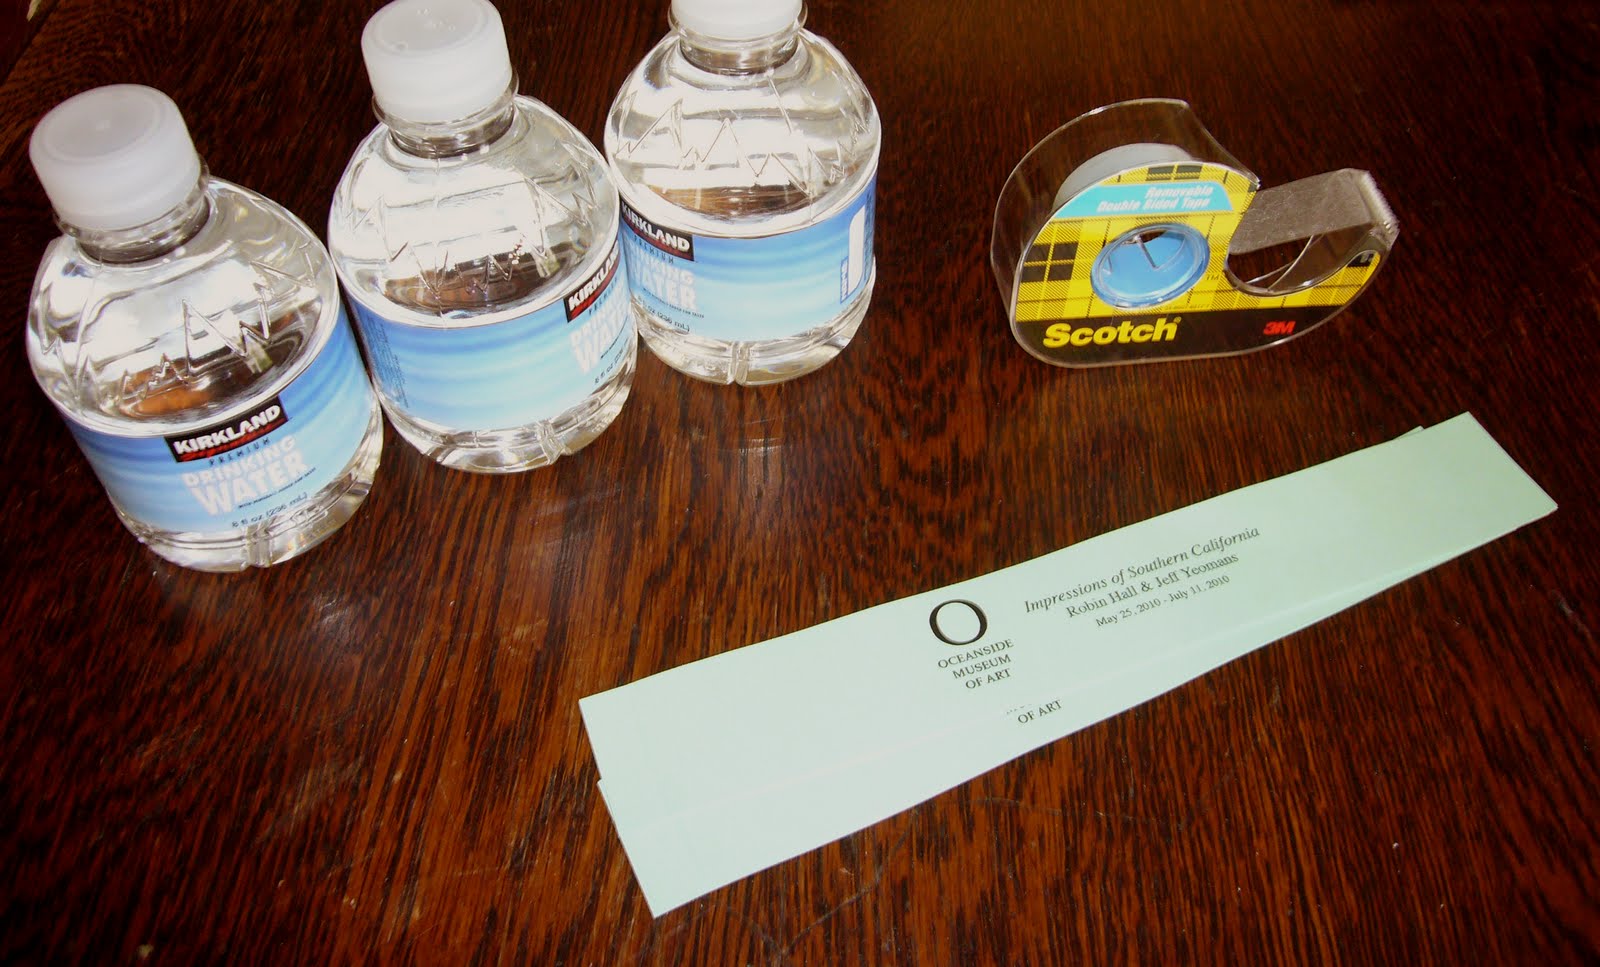
You need your h2o bottles, labels, and double-sided tape.
Step2:
Rip off the old label. You'll find the sticky stuff doesn't come off completely- it's a good thing because it will help when applying your new label.

Step 3:
Apply double-sided tape to one corner of your new label.

Step 4:
Attach one side of your label (the side WITHOUT tape) to the remaining sticky goo and wrap the label around.

Step 5:
Line up the label and press. Your tape should secure the label.

Step 6:
Admire your work.

For those of you not down with DIY projects,
Bottle Your Brand makes great professional bottle labels for water, beer or wine bottles.


No comments:
Post a Comment